husband and wife, foodies for life
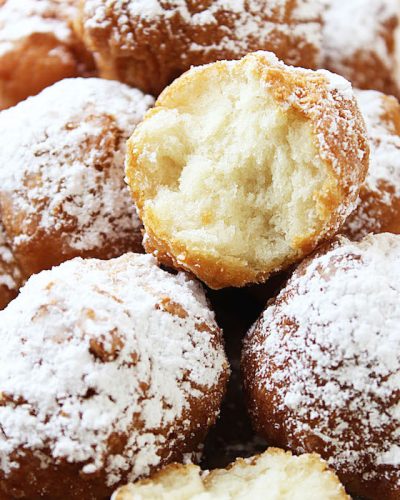
Appetizer
Subscribe for all the deliciousness straight to your inbox!
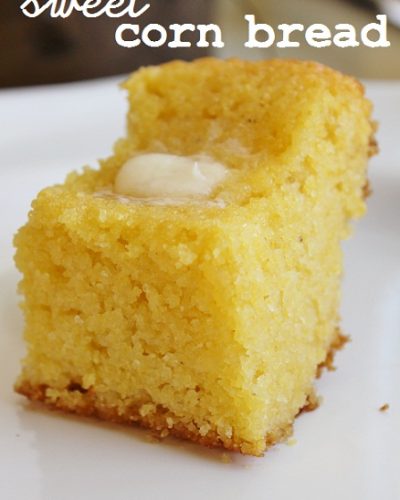
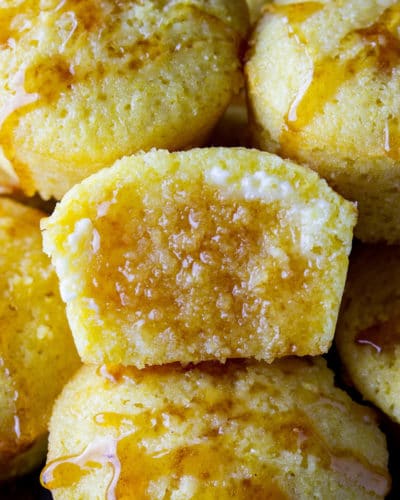
Bread
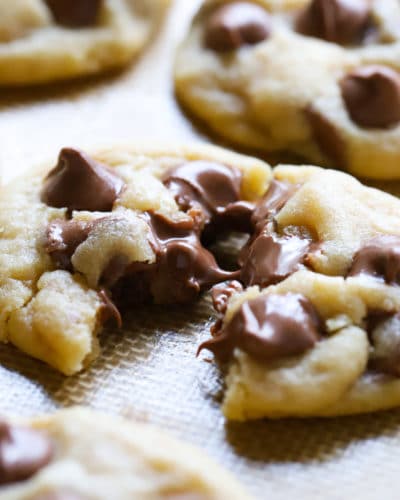
Cookies and Bars
Side Dish
see more >>